When it comes to achieving a smooth, durable, and level surface for flooring, floor screeding is a crucial step. Whether you’re a seasoned contractor or a DIY enthusiast, the difference between a flawless finish and a cracked or uneven floor often comes down to preparation and technique.
In this guide, we’ve compiled the top 10 floor screeding tips to help you achieve professional-quality results every time.
1. Choose the Right Type of Screed
Before you start, it’s essential to select the right screed for your project. Options include:
- Traditional sand and cement screed – ideal for most residential applications.
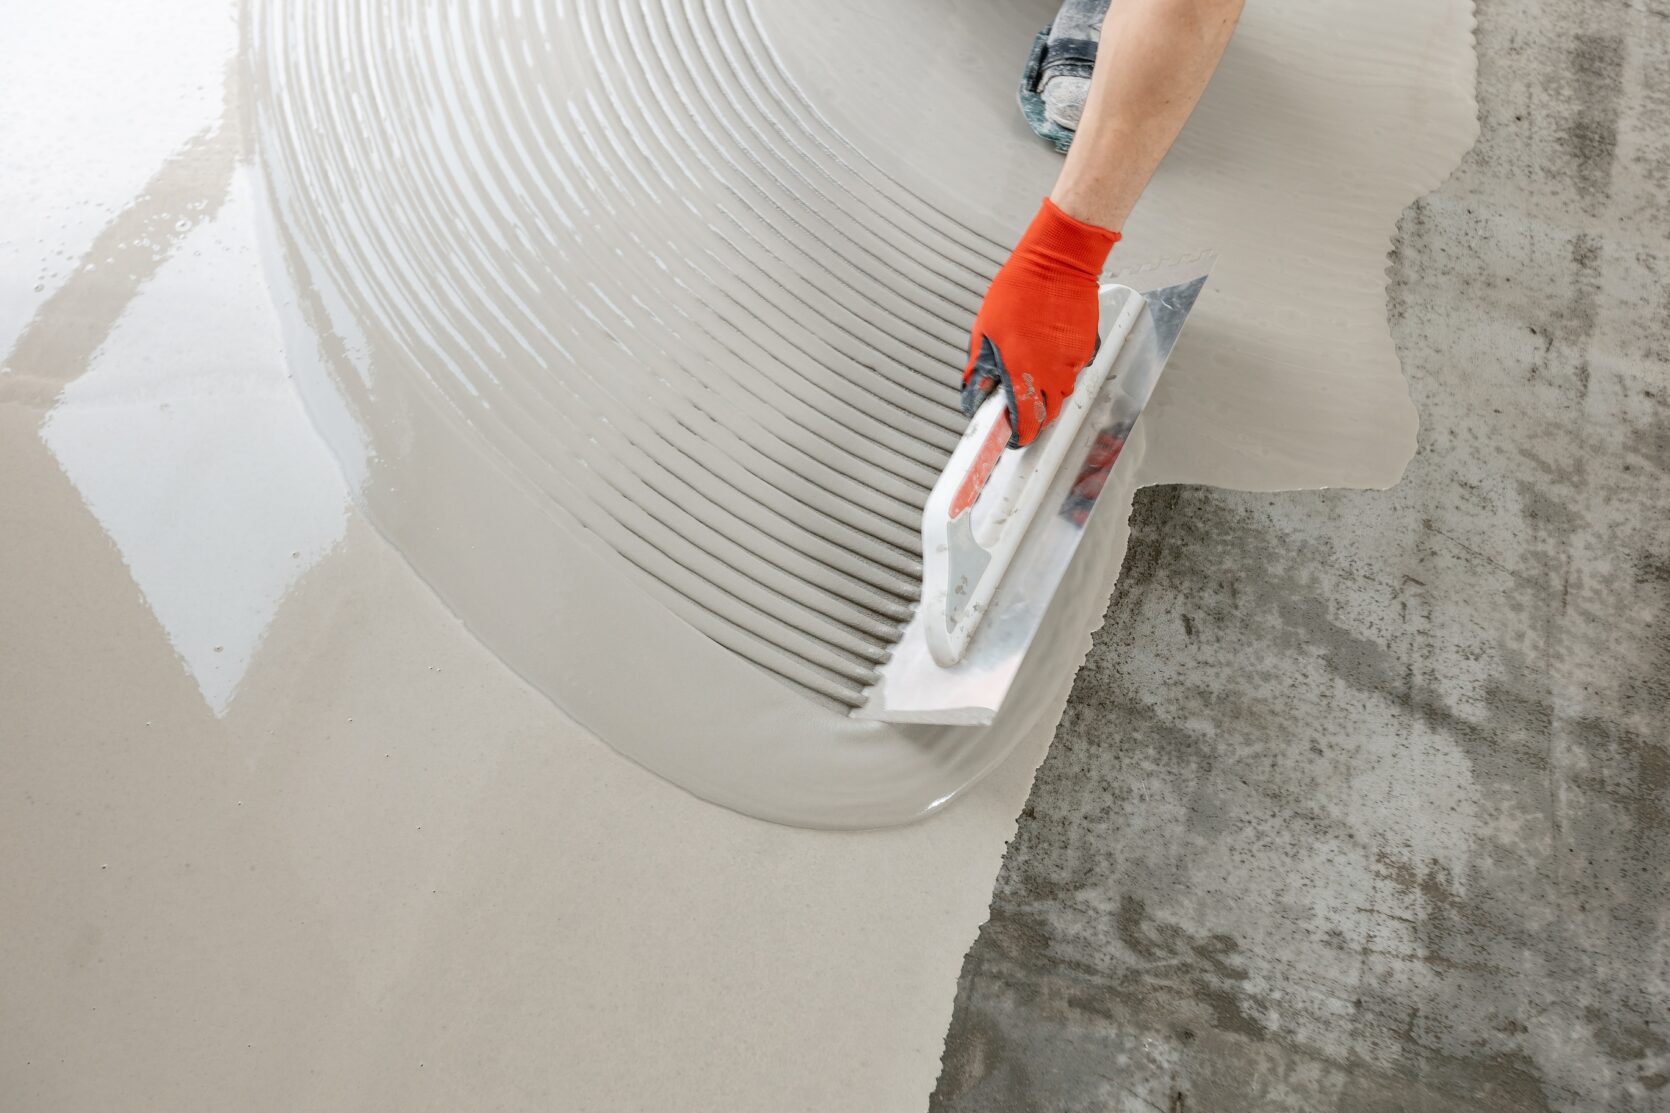
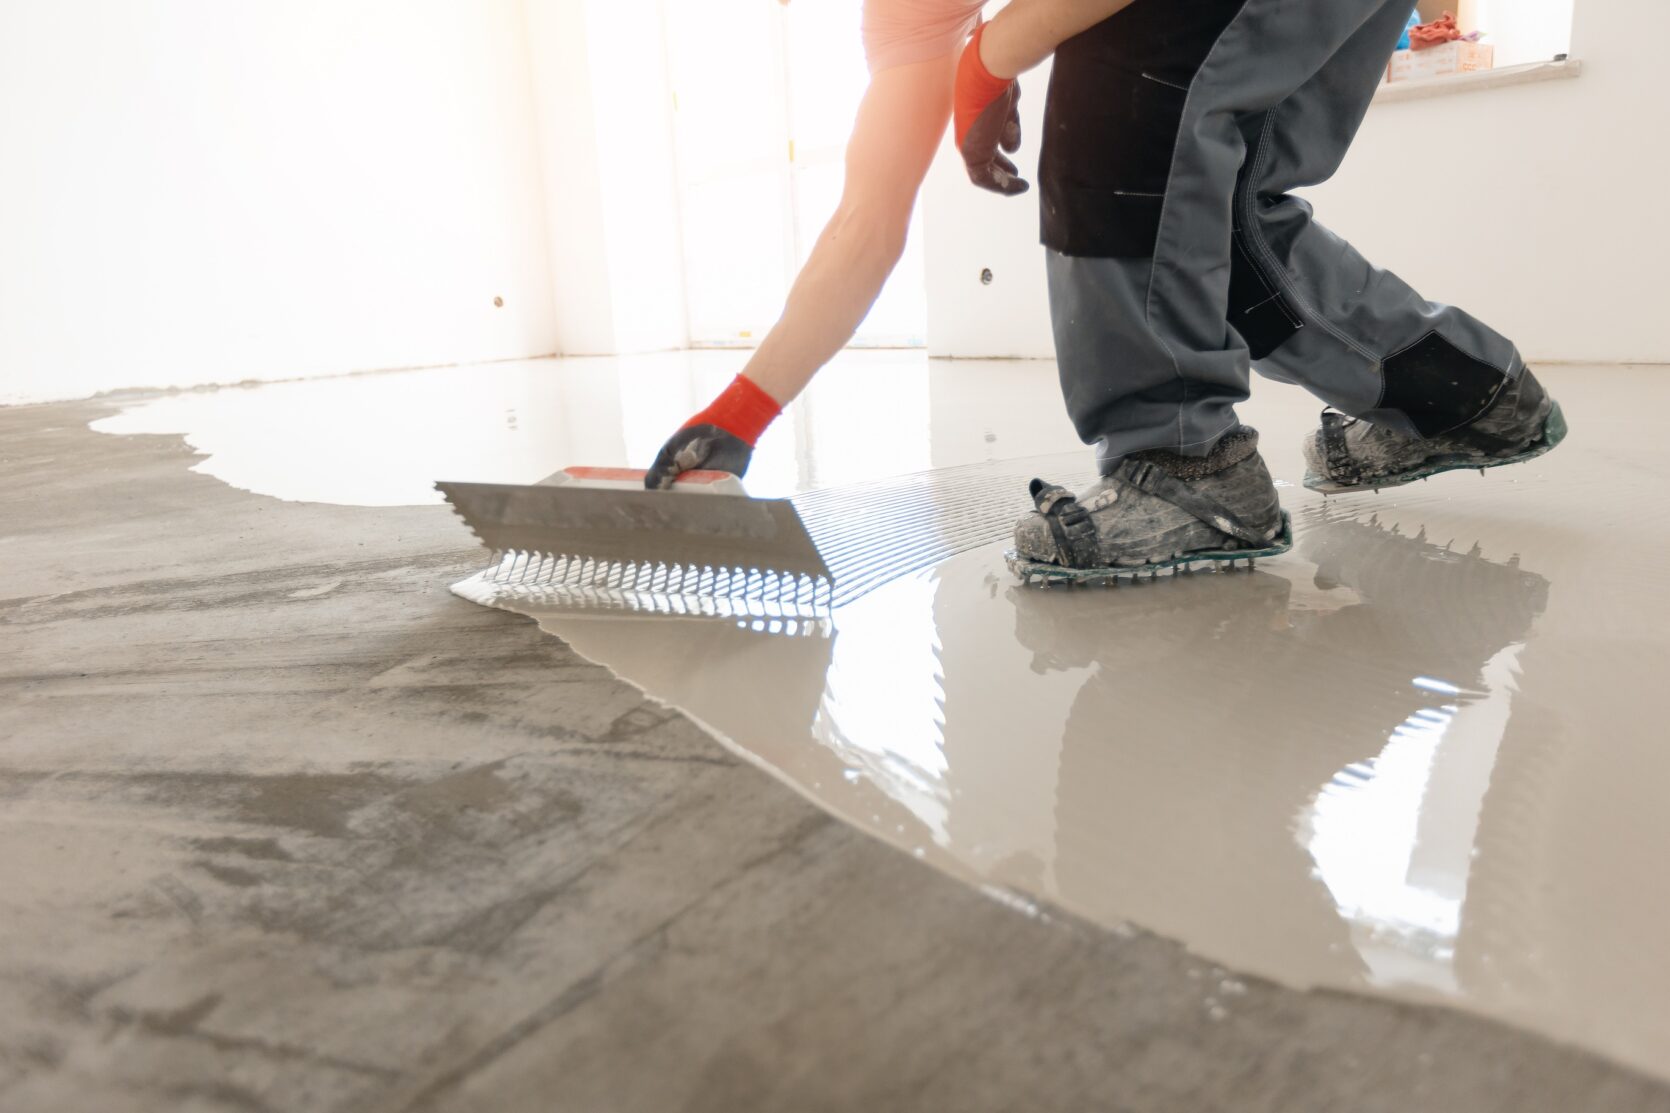
- Self-levelling screed – perfect for achieving ultra-smooth finishes and thinner layers.
- Fast-drying or polymer screeds – ideal when time is tight or underfloor heating is involved.
Each type behaves differently, so match your choice to the project’s needs and environment.
2. Prepare the Subfloor Properly
A clean, stable, and dry subfloor is the foundation of any flawless screed. Remove all debris, dust, and grease, and repair cracks or holes. Apply a damp-proof membrane (DPM) if required to prevent moisture from affecting the screed’s integrity.
3. Don’t Skip the Primer
Applying a primer or bonding agent helps the screed adhere better to the substrate and prevents issues like delamination. Always follow the manufacturer’s guidance on dilution and drying times.
4. Use Accurate Mixing Ratios
Incorrect water or cement ratios can ruin your screed. Too much water weakens the mix, while too little makes it difficult to spread evenly. For traditional screed, the standard mix is 1 part cement to 4-5 parts sharp sand.
If you’re using a ready-mix screed, ensure it’s supplied by a reputable screeding company with consistent quality control.
5. Check Ambient Conditions
Temperature and humidity play a huge role in the screed’s drying process. Ideally, keep the environment between 5°C and 30°C. Avoid draughts, direct sunlight, and sudden temperature changes that can cause cracking or uneven curing.
6. Install Expansion Joints
For larger areas or rooms with underfloor heating, expansion joints are essential. They allow the screed to expand and contract naturally, reducing the risk of cracking and ensuring long-term durability.
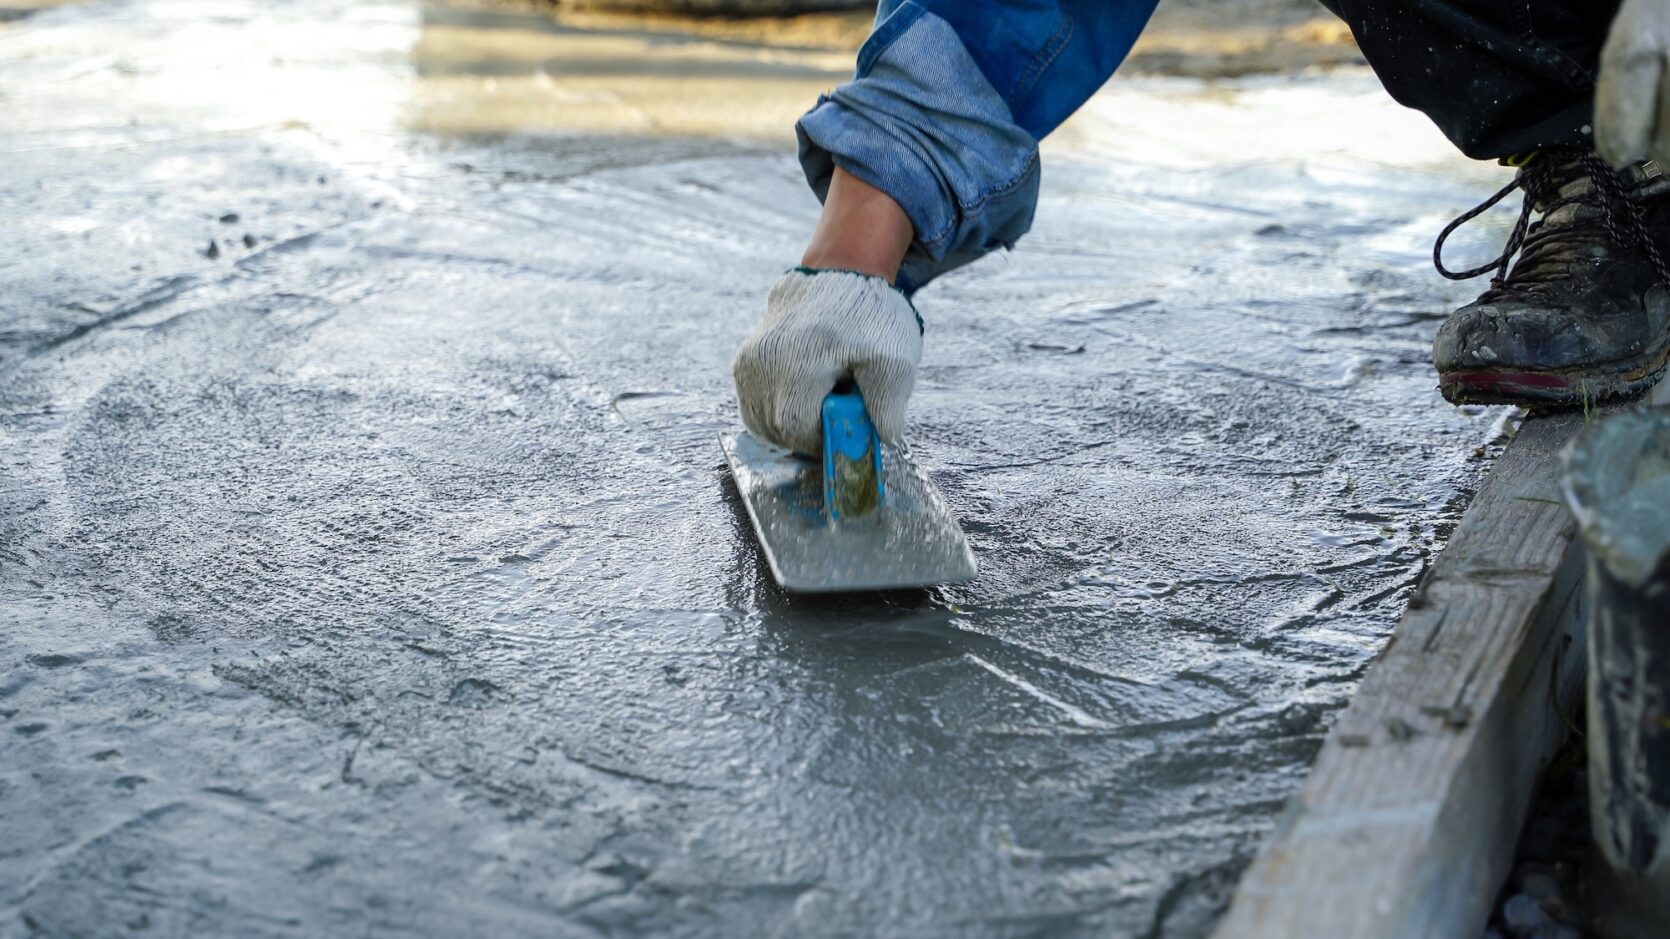
7. Level with Precision
Use levelling bars or laser levels to ensure a consistent depth throughout the floor. Work in sections, spreading and compacting the screed methodically. Remember: the smoother and more even your base, the better your final floor finish will look.
8. Protect During Curing
One of the most overlooked floor screeding tips is proper curing. Once laid, protect the screed from rapid drying. Cover it with polythene sheeting to retain moisture and prevent surface cracks. Allow adequate drying time before foot traffic or flooring installation.
9. Allow for Proper Drying Times
Never rush the drying process. As a general rule, traditional screeds take about 1mm per day to dry under normal conditions. Fast-drying screeds can shorten this significantly, but always follow manufacturer guidance before laying final floor finishes.
10. Hire Professional Floor Screeding Experts
If you’re unsure about any step, it’s always best to hire experienced floor screeding contractors. Professionals have the tools, knowledge, and precision to deliver a flawless, long-lasting finish – saving you time and costly repairs in the long run.
Learn More With the Screeding Experts
Achieving a perfectly level and durable floor doesn’t happen by chance – it’s the result of careful preparation, the right materials, and expert technique. By following these top floor screeding tips, you can ensure a professional finish that stands the test of time.
If you’re planning a flooring project, contact JCW Floor Screeding for expert advice, high-quality materials, and professional screeding services across the UK.